
Ever wonder what camera do most Instagrammers use to take stunning photos?
In an article from the Business Insider in 2015, they wrote “most Instagram power users take their pictures on the iPhone. But with some editing, Instagram users can make even the worst smartphone camera look decent.”
So yes, the majority of them use their phones to take pictures. Though, sometimes the idea of hiring a photographer sounds so enticing don’t you think?
I’m no photographer by any means, I’m just a girl who loves to take pictures and have spent years trying to figure out ways to take better photos using both phone and DSLR cameras. I’ve learned some tips and tricks along the way so I created a guide to help improve not just your phone photography skills but also grow your social media presence. Because to be honest, aside from creating content and having the right audience, photos are essential in growing my Instagram page from 5k to 17k followers in less than a year.
Are you ready to step up your phone photography game? Here is your complete guide on how to take photos like a pro using your phone.
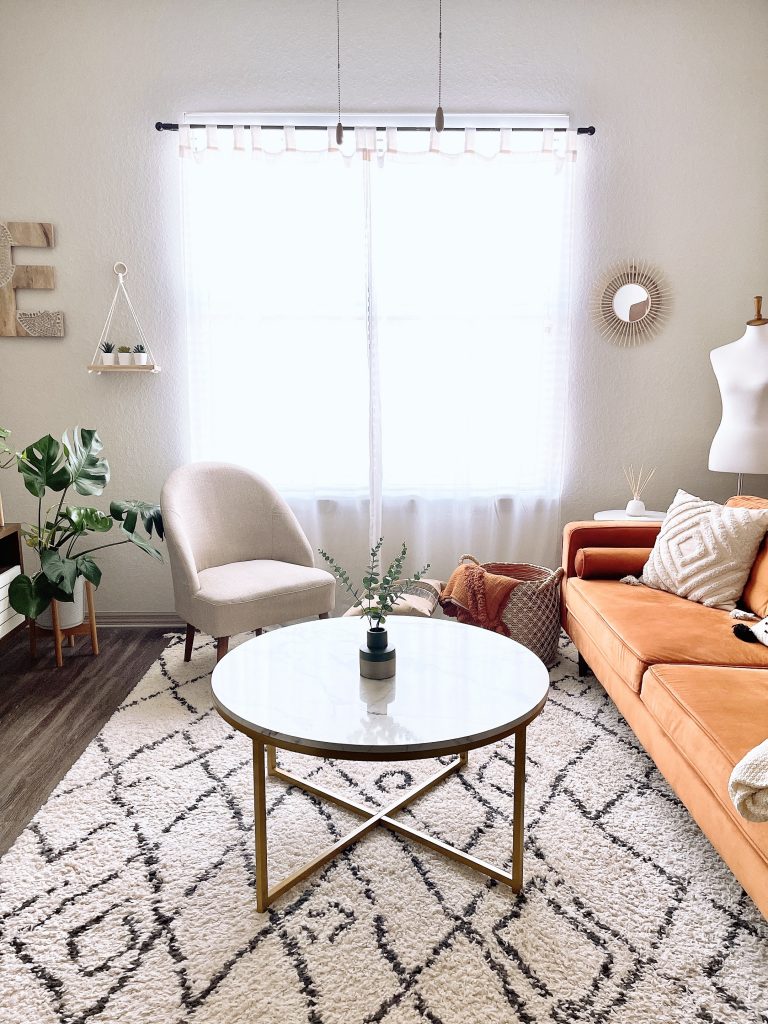
1. Natural Light – I cannot stress enough that natural lighting is by far the best lighting setup when taking photos. First of all, it’s free and you can use it as much as you can. My favorite spot is the natural light coming from the window.
Pro Tip: When taking a selfie, face the window if you want better results.
While using natural light is a great idea, I know that not all of us have access to it. But there are artificial lights you can use such as box light, umbrella light, or ring light as a backup.

2. Built-in Camera – instead of using the built-in camera in your phone, use the photo app camera. I find that the built-in camera in photo apps captures the same if not, better photos than the phone cameras comparatively. Except if you’re using the latest Apple or Samsung phone, maybe? I have an iPhone 12 Pro Max but I use a photo app camera most of the time.
Here are some of the photo editing apps I used over the years. VSCO, Facetune, A Color Story, Darkroom, Adobe Lightroom, Afterlight, Snapseed, and Snow are some of the popular apps free to download on iTunes and Google Play. These photo apps can capture, edit, and comes with free filters too.
3. No to YELLOW (incandescent) light, this type of light is popular in bedrooms, lamps, and or kitchen because it gives enough light, bright yet muted. However, when you take photos using this type of light, there are shadows that will give a dark and dull appearance to some areas in your photos. Use daylight bulbs instead.
4. DO NOT over-edit. Sometimes too much editing can lead to having your photos look washed out and tacky. Remember, too much of anything is bad.
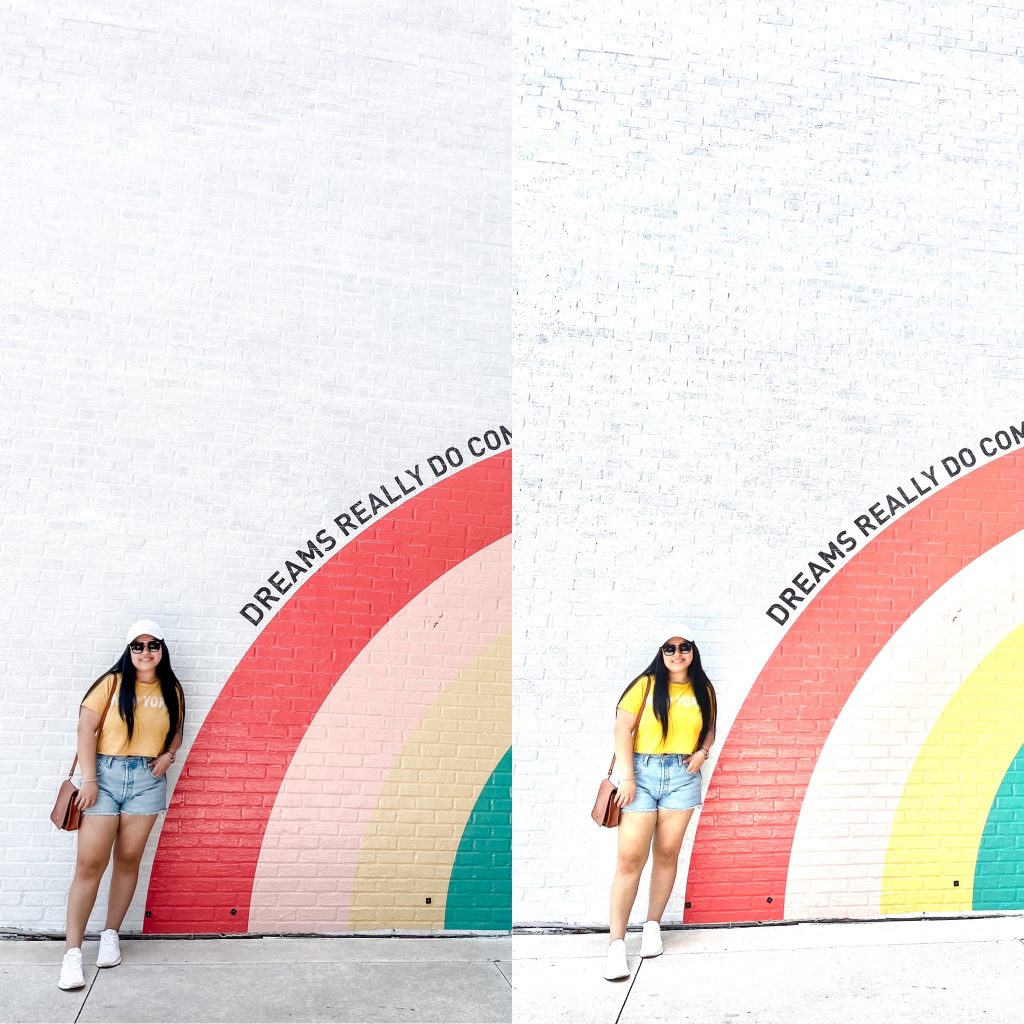
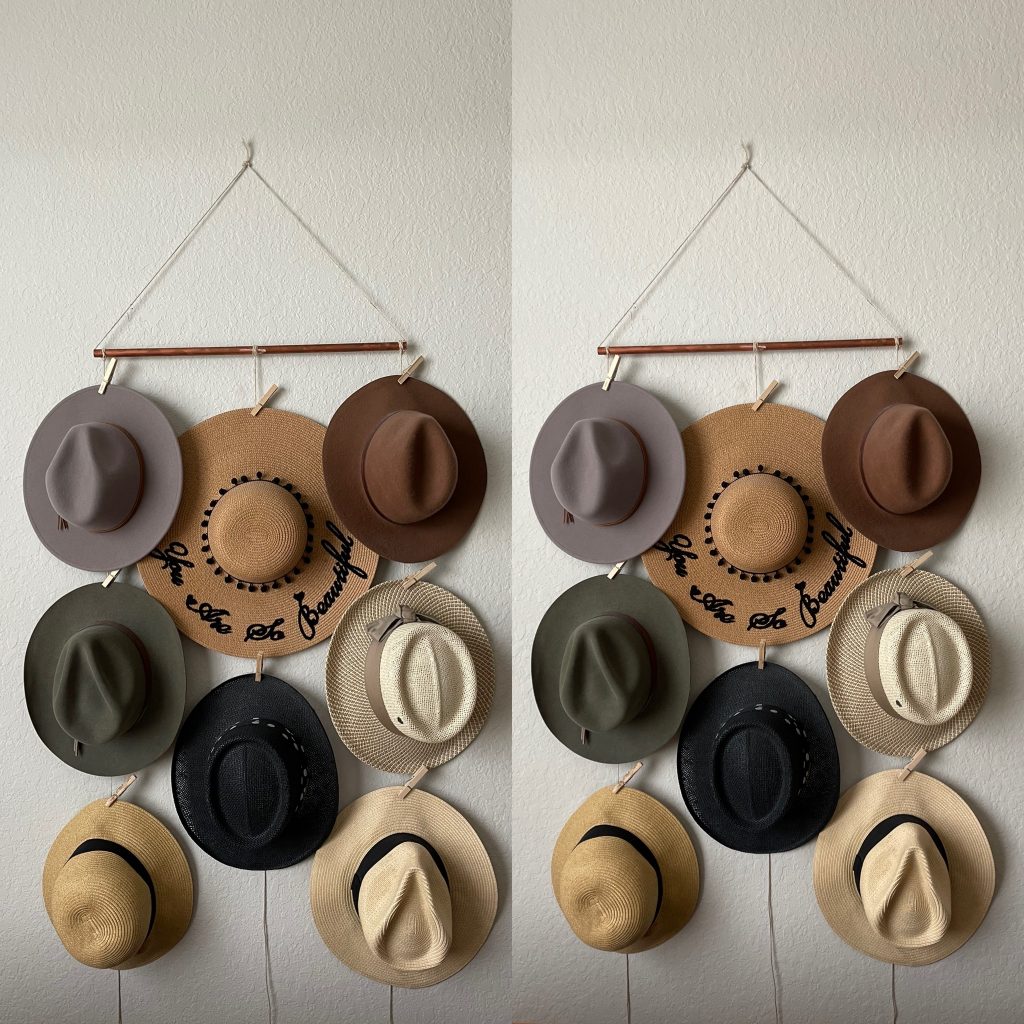
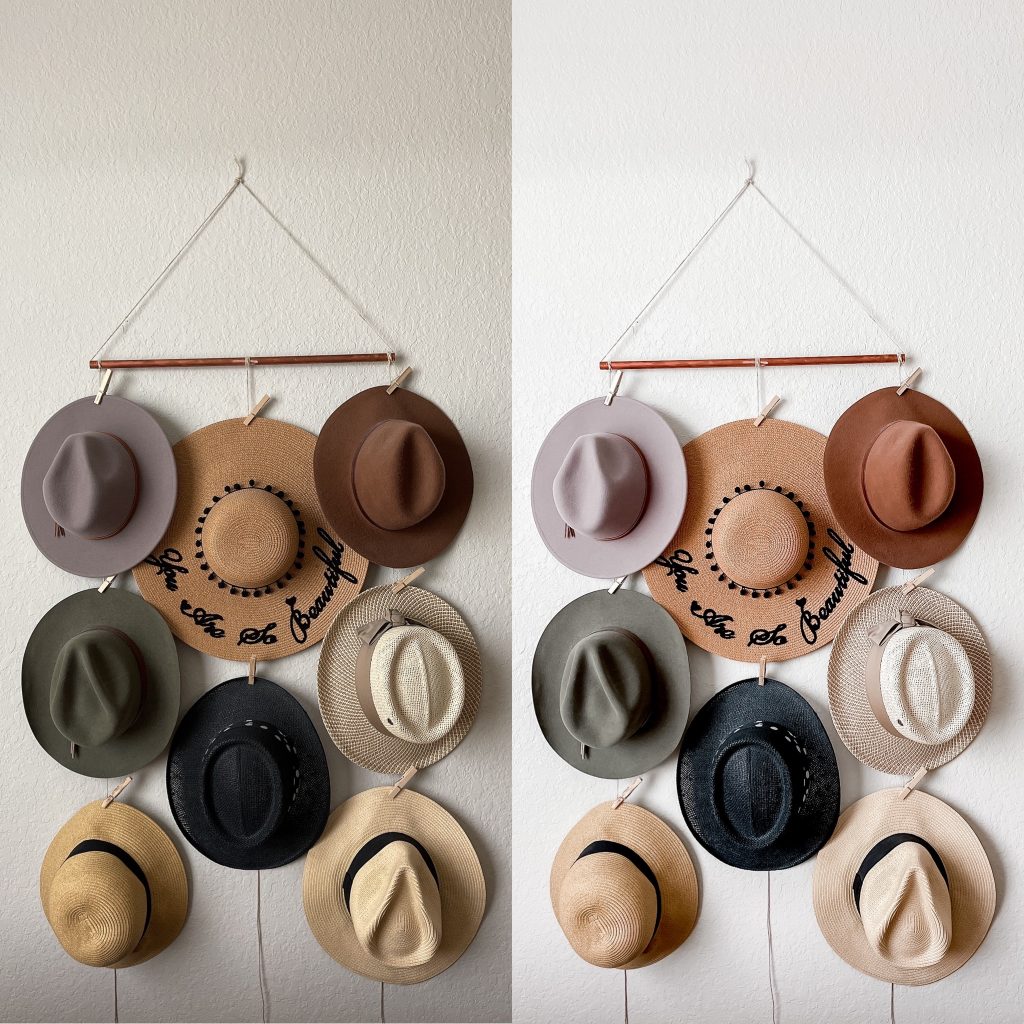
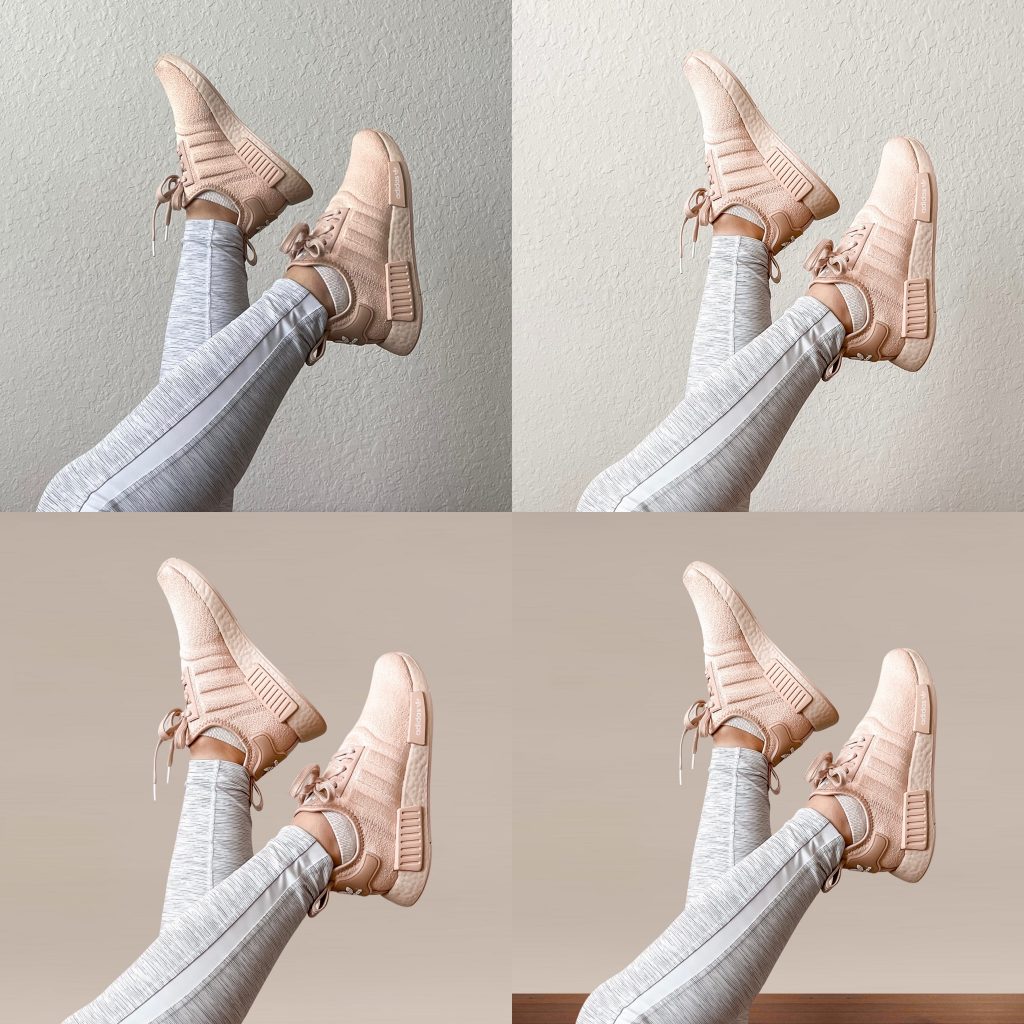
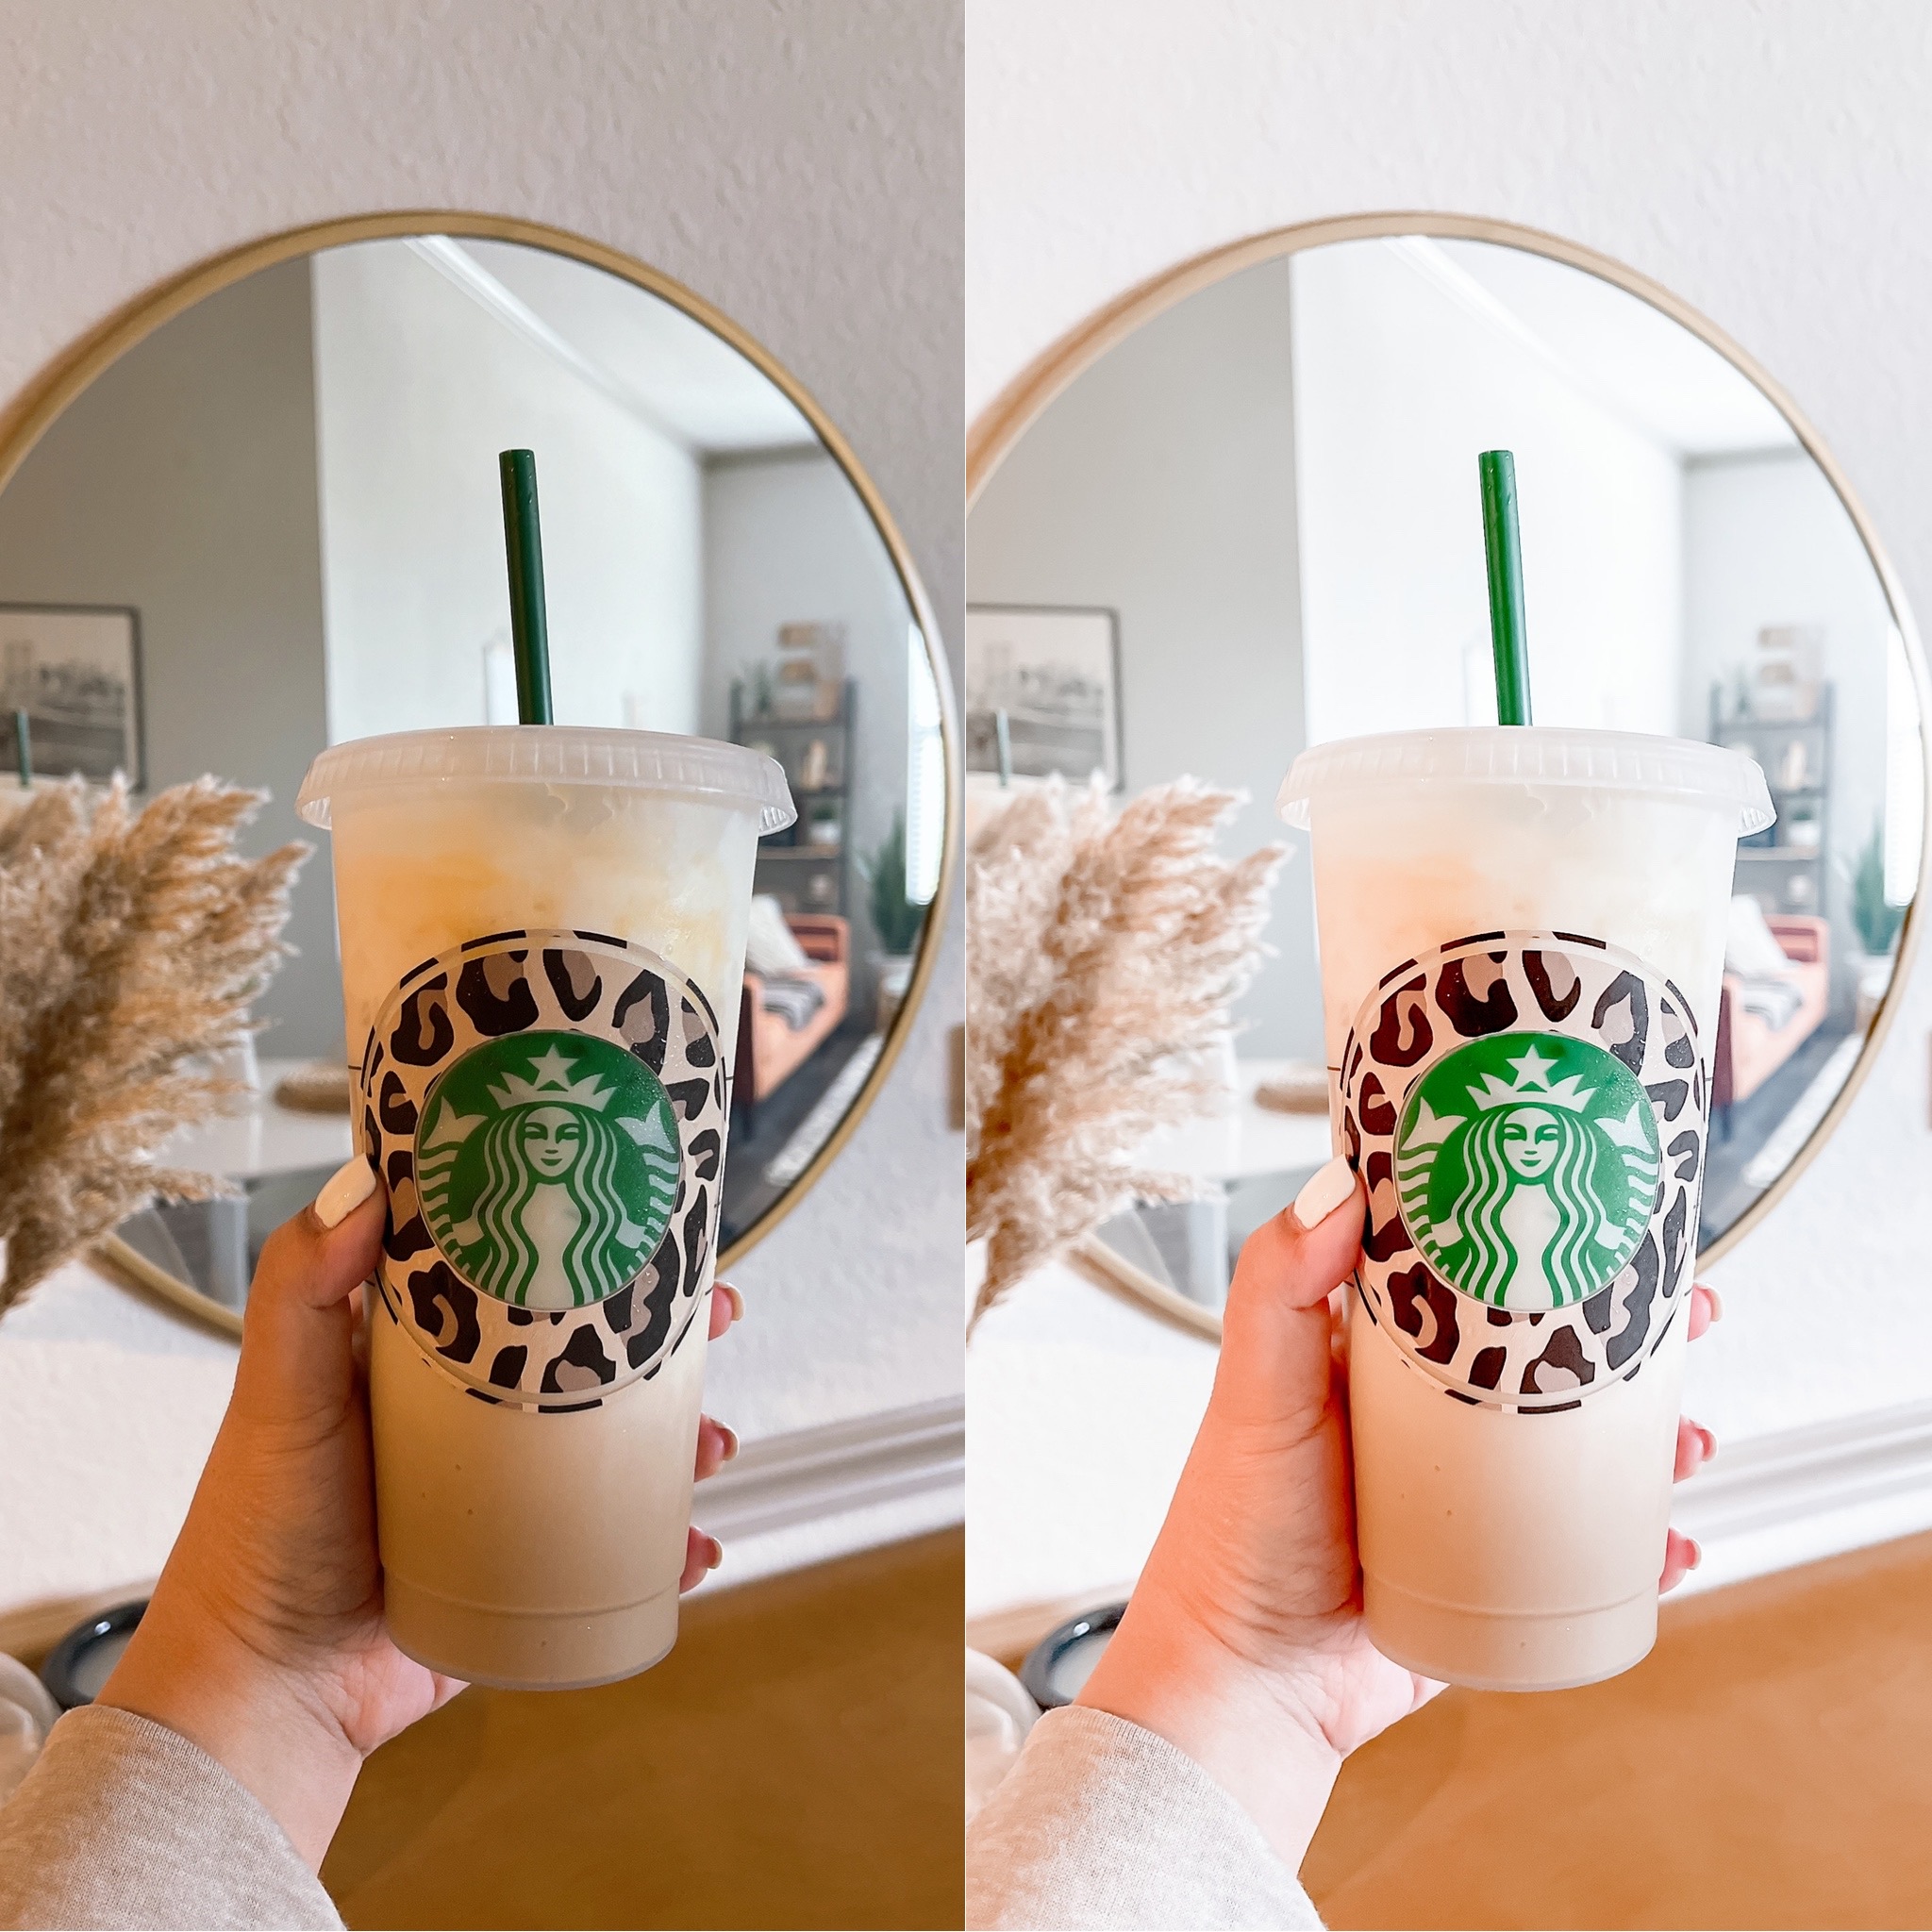
5. When in doubt, filter it out. I get a lot of DM’s about how I edit my photos and if I use a filter in my Instagram photos. The answer is YES! If you want your Instagram feed to look cohesive and aesthetically pleasing, a filter is your best bet. Make sure the filter you want to use will work with all of your photos.
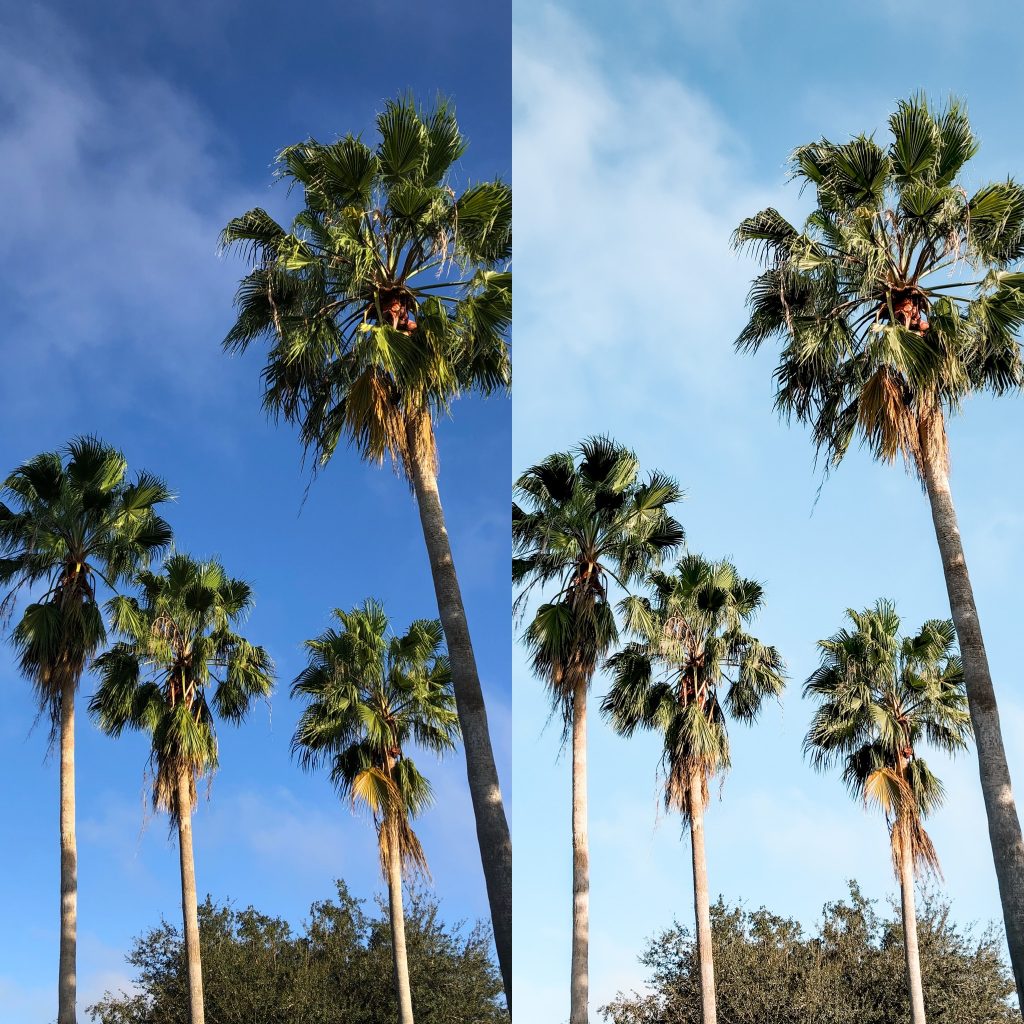
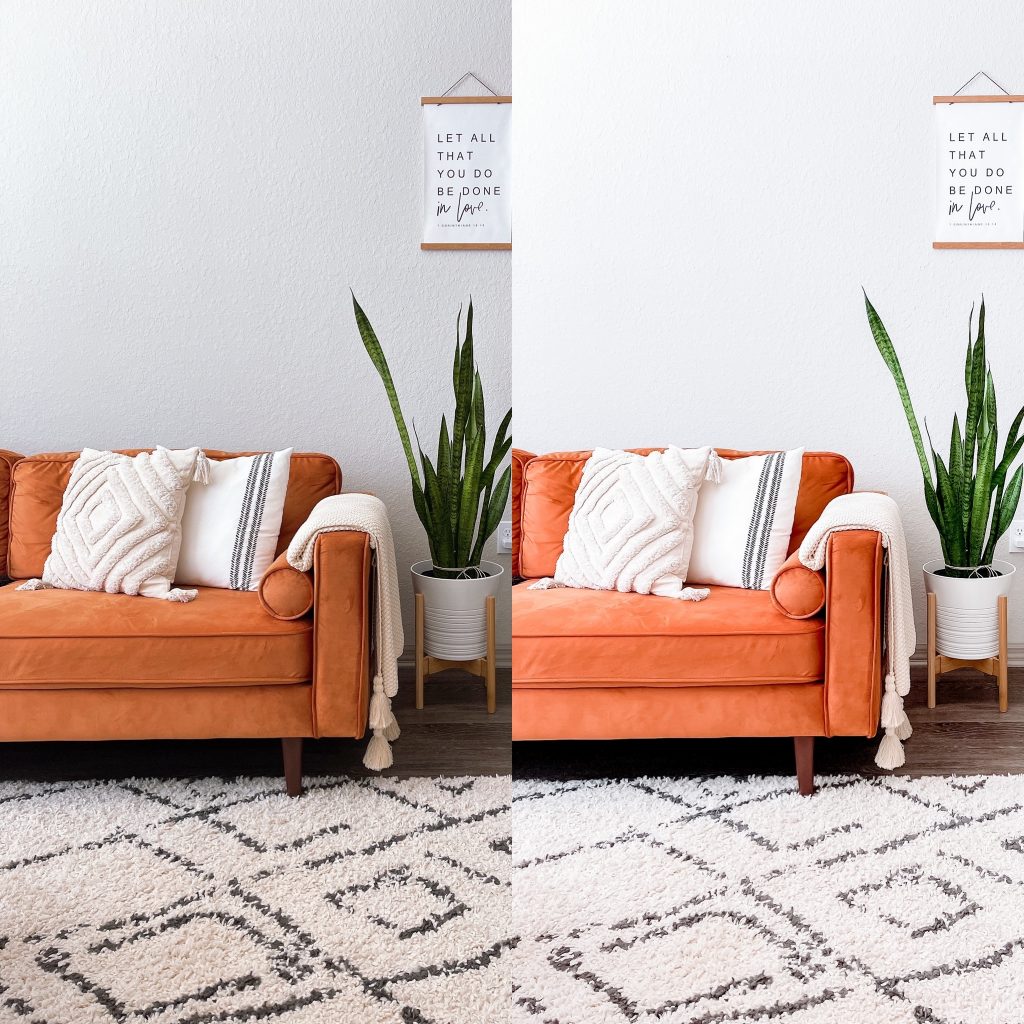
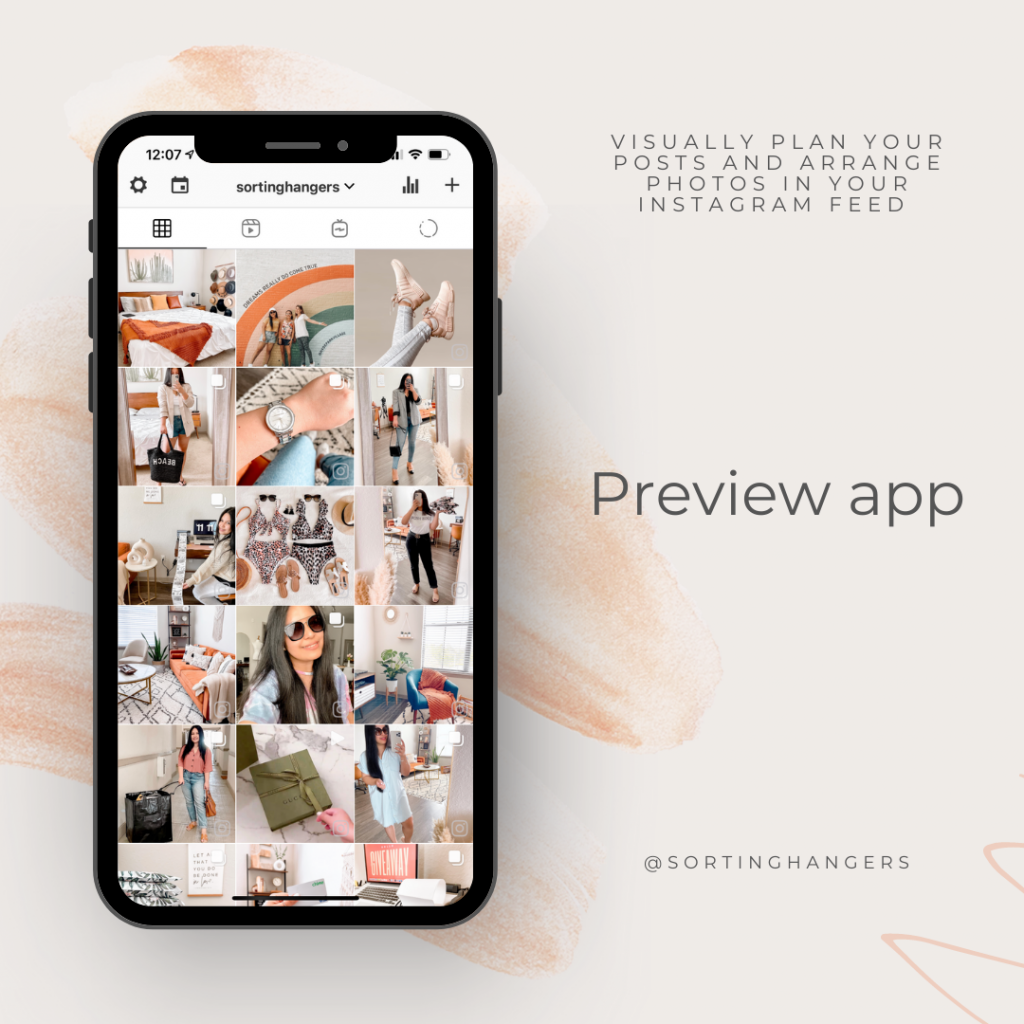
Not sure what filter to use? Download the preview app, log in using your Instagram account, and see how the filter looks like in your photos before you decide if you’re going to use it in your feed. (see sample photo below)
6. Only use FLASH when necessary, only use it during the day, but by any means – avoid it if you can. You don’t want to look like you have jaundice or have red eyes, don’t you? You can edit the brightness setting of your photo if needed.
7. “Invest in a good camera or phone” however that’s not always the case. Truth is, the outcome of your photo doesn’t solely depend on the camera. Keep in mind, your photo is a form of art and you are the artist. So it’s up to you to decide how you want your photos to look like.
I own a DSLR camera but most of the time, I still prefer my iPhone to take photos. Not only the camera is way too heavy to carry around, the lens that came with DSLR cameras only works with specific lighting. If you want the best results, you either need to shoot outside or use artificial lighting. In addition, you need to keep charging the battery because they die quickly.
DSLR cameras are great but it only works for certain types of photography. For example, nature and scenic photos are best taken using a wide-angle camera. But if you just want to take a photo of your dog, your new purse, or your lunch for the day, using your phone camera is perfectly fine.
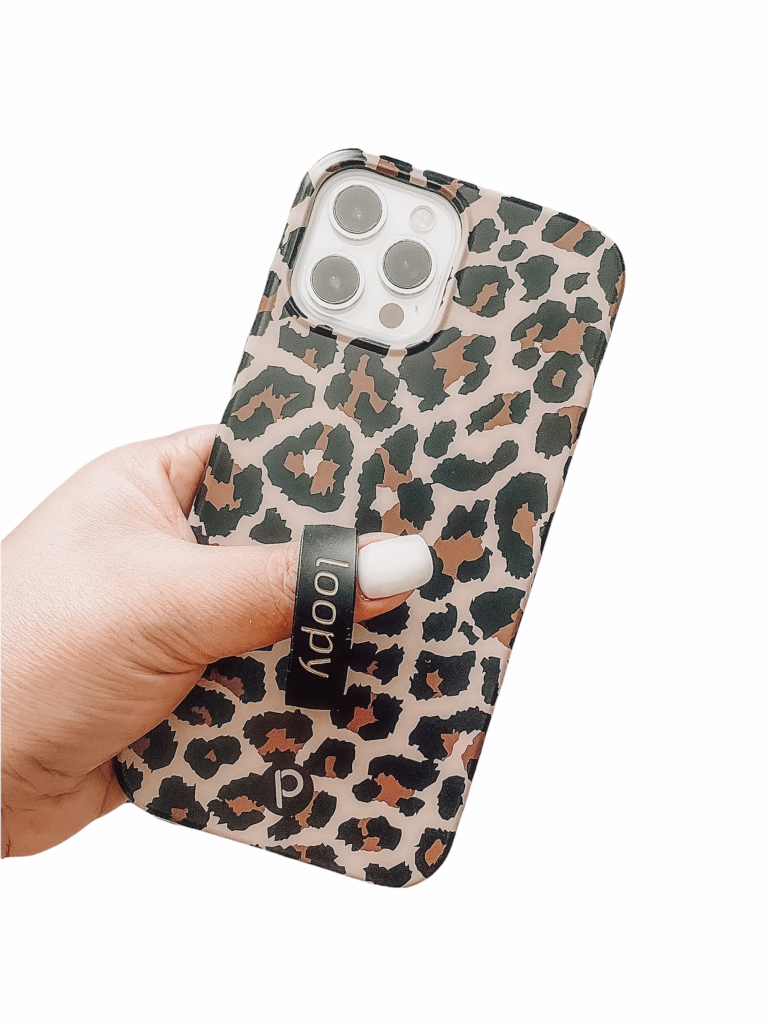
8. Use a tripod and a remote. No photographer, no problem. Attach your phone on the tripod, make sure your Bluetooth is connected, use the remote, click away and you’re all set. Here are some examples of tripods with remotes available in the market.
9. Tap the camera screen before you take a photo, tap the part where you want to focus, you will see a small box on your subject, then slide your finger up or down on the sun icon to adjust exposure. Once, you’re happy with the exposure, tap the shutter button to take the photo.
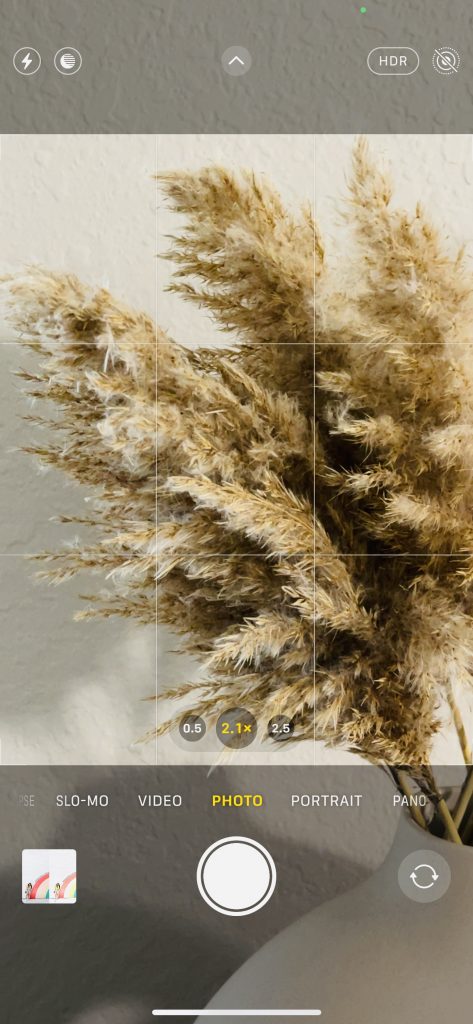
10. Avoid zooming in on the camera as it will only make your photo look grainy, blurry, and pixelated. If you want to take a close-up photo, move closer to your subject.
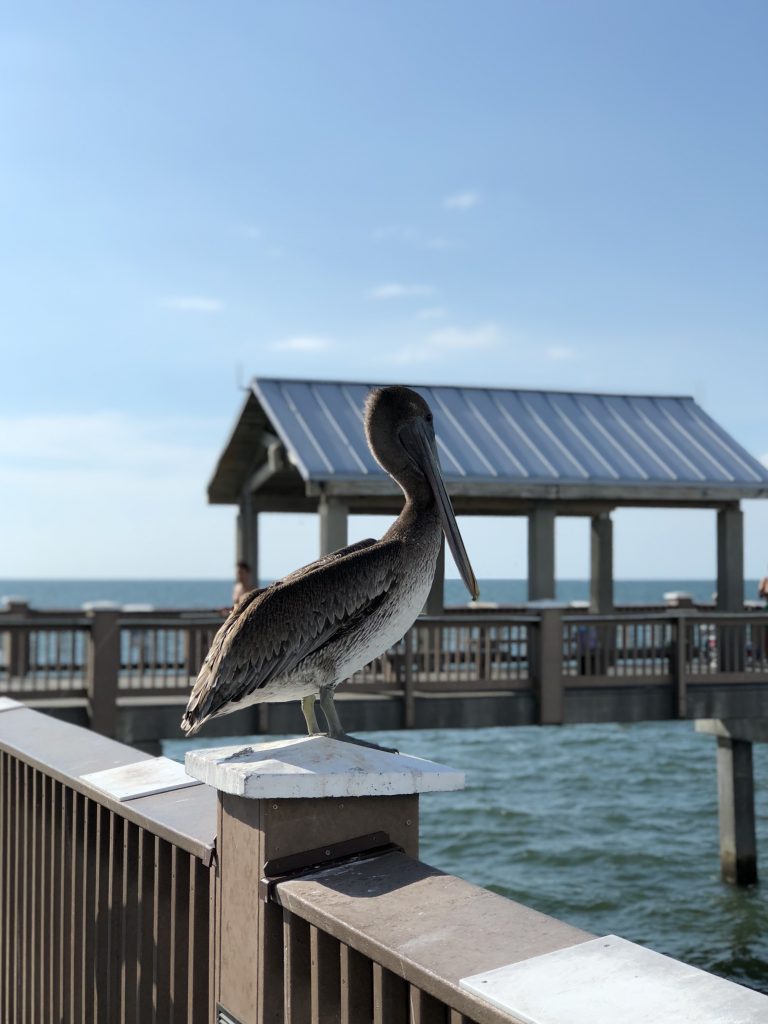
11. Avoid taking photos in “portrait” mode if you don’t have enough lighting. Best to use portrait mode when you are outside on a bright or sunny day. Also, consider what time of the day when you want to take photos, the best time is between 10 am and 3 pm.

12. Be creative. You are only limited to the limits of your imagination. Do not be afraid to try out different ways to make your photo look amazing. You can edit, change or remove the background, add effects, you can even add text and captions.
Photo Room app is one of the best photo apps to unleash creativity in your photos.
Here’s a short video clip on how to change the background of your photo to plain white.
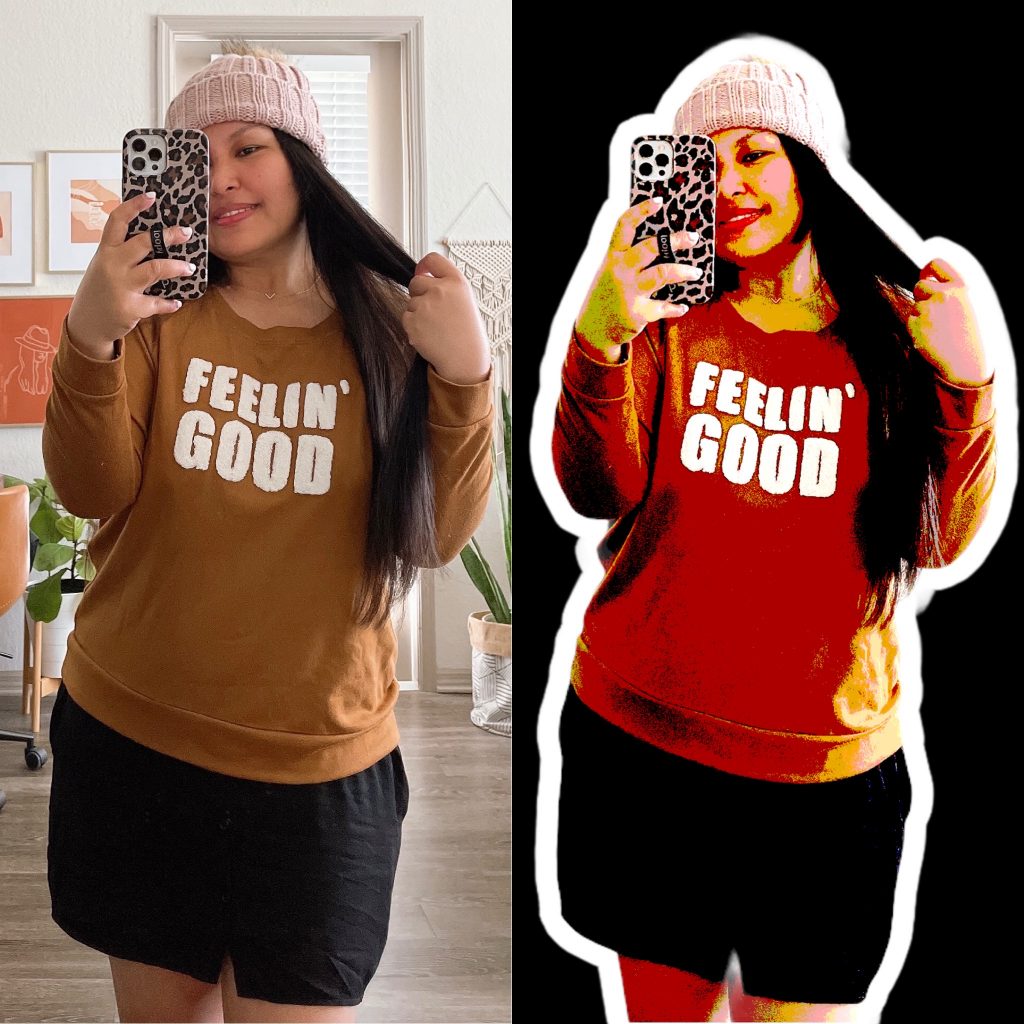
And here’s how to create a cartoon-like effect in photos.
Canva is another popular app amongst bloggers because of its wide variety of templates for almost everything – social media posts, presentations, resumes, posters, business cards, and its popular background removal feature for pro users.
13. Follow the rule of thirds. It’s placing your subject in the left or right third of an image, leaving the other two-thirds more open. It involves mentally dividing up your image using 2 horizontal lines and 2 vertical lines or what they call grid lines – a setting you can select on most cameras and even on your phone that leads to well-composed shots.
14. Capture multiple shots. The more pictures you take, the more options you have when it’s time to choose which photo to use. You will thank yourself later.
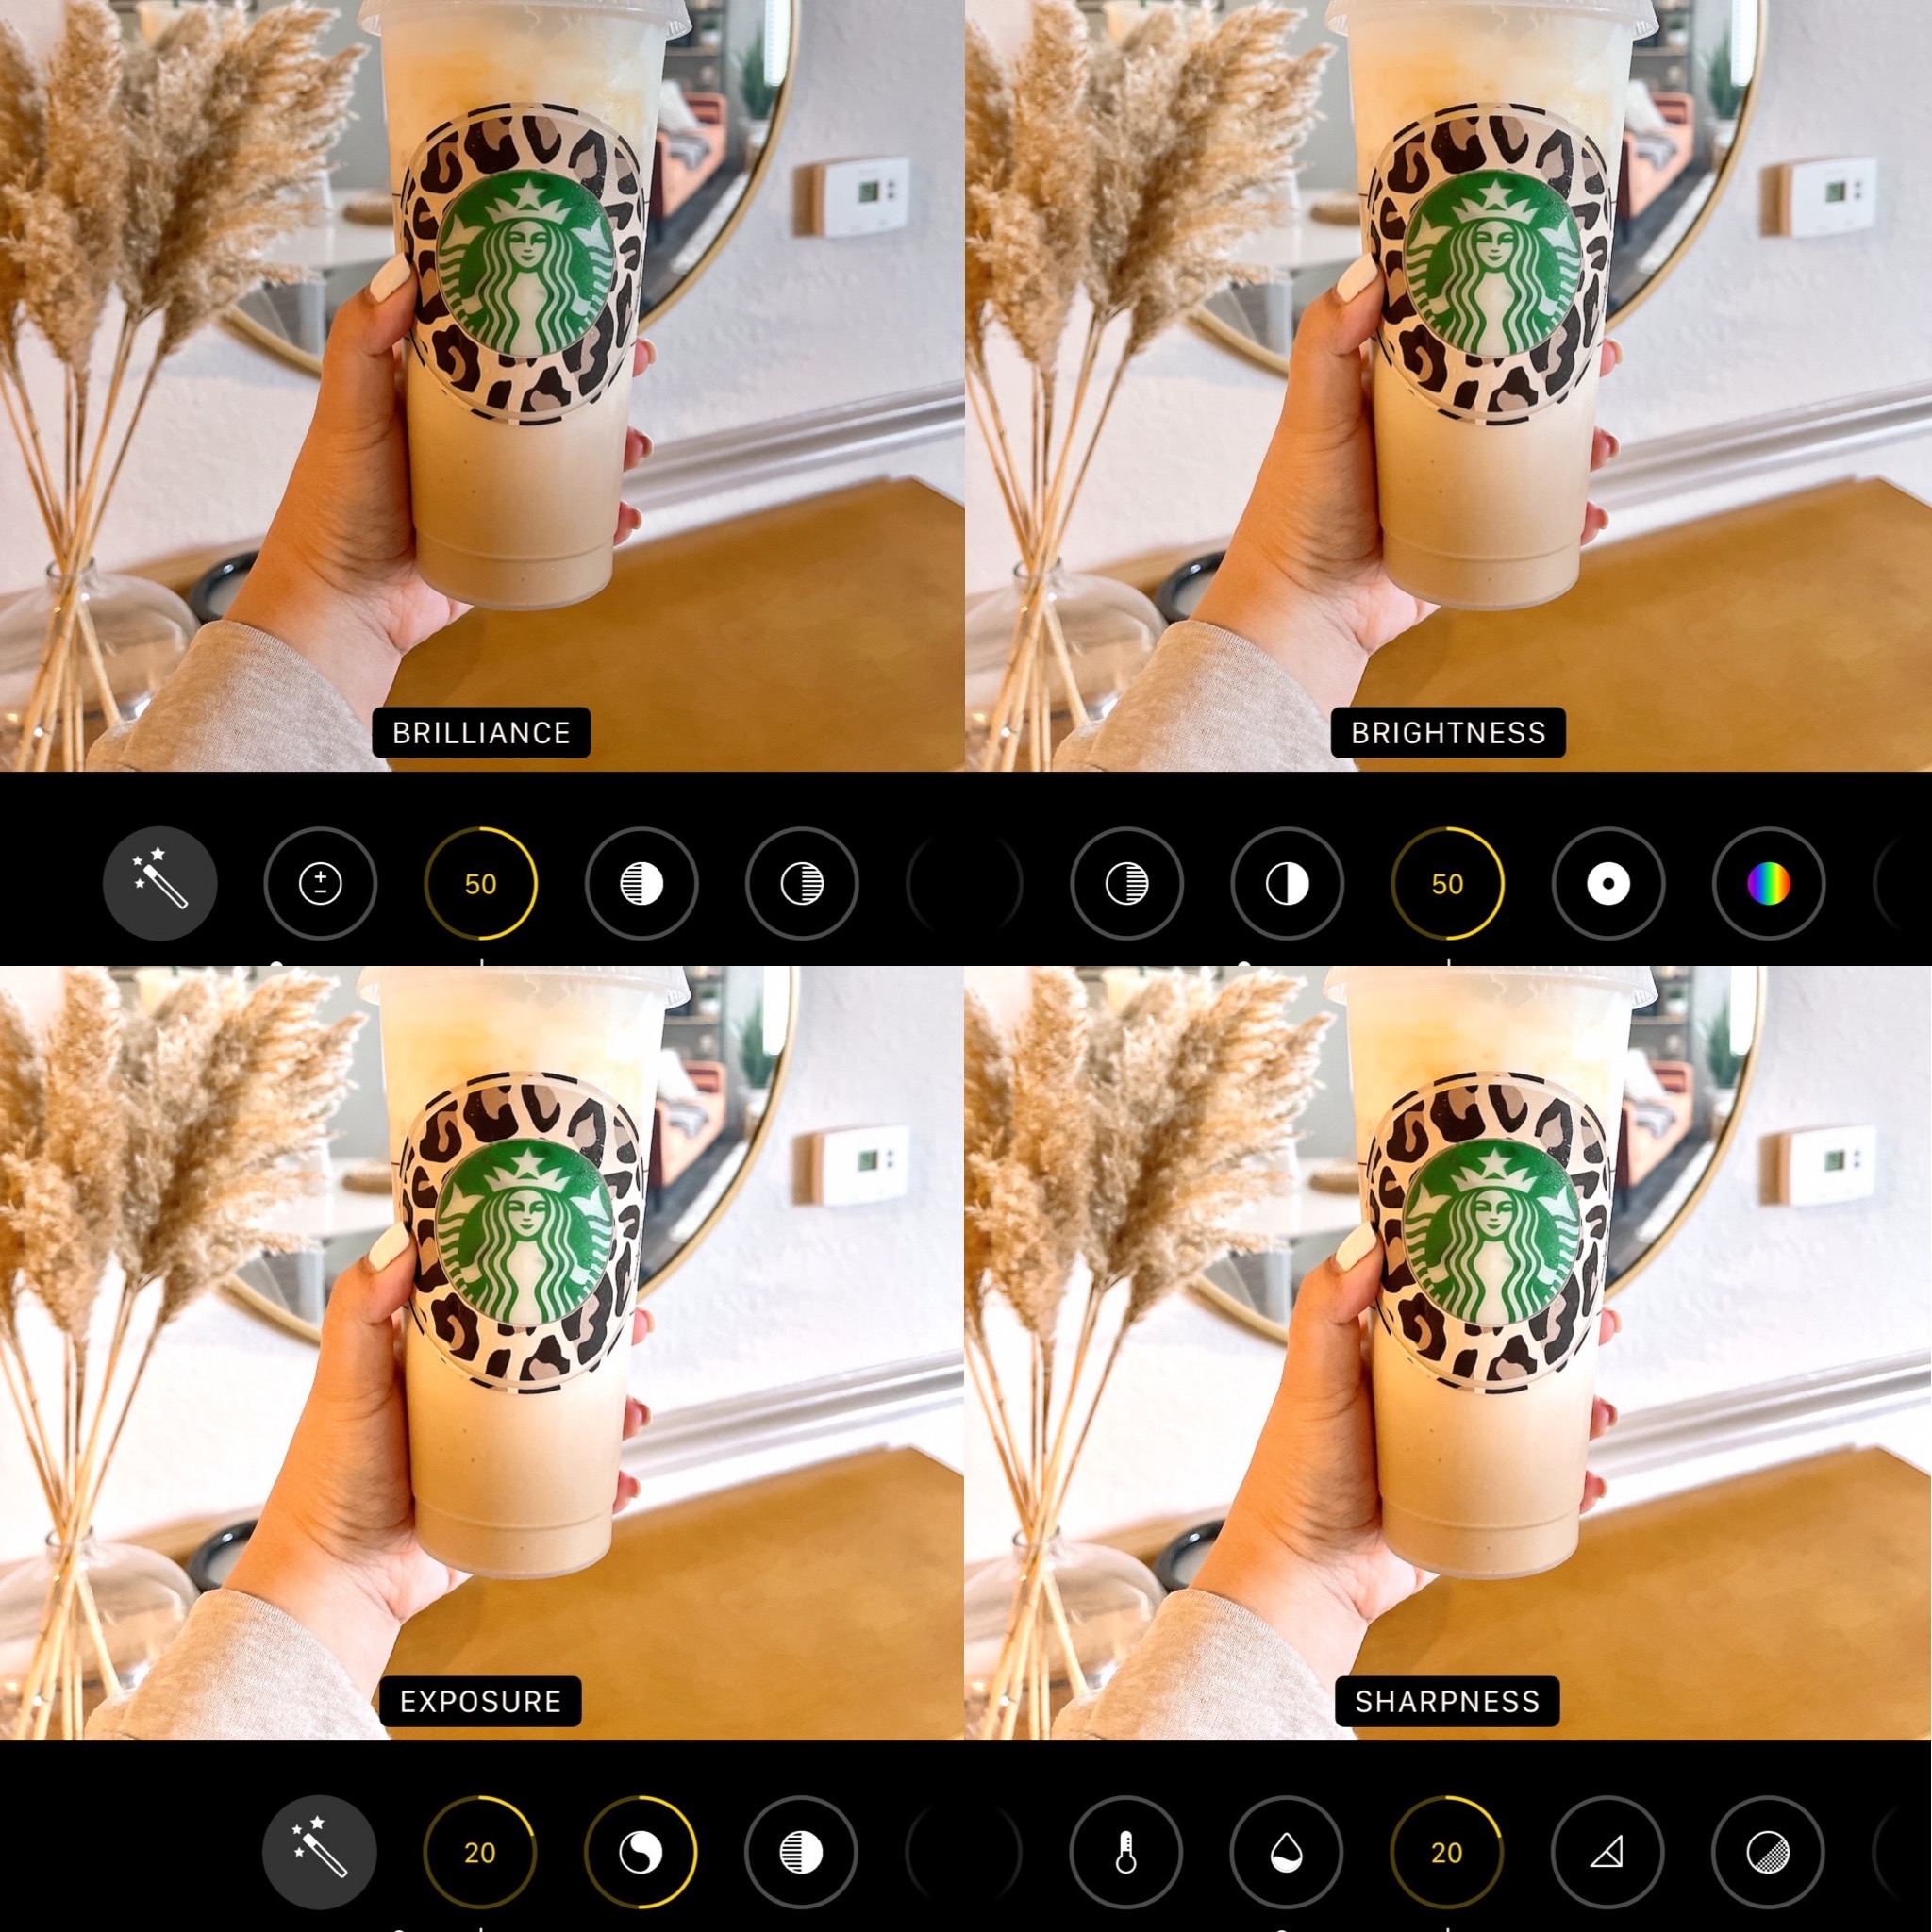
15. Make use of these 4 important camera settings in your phone – sharpness, brilliance, exposure, and brightness.
16. Don’t be afraid to try different angles – Practice is key. Being good at something doesn’t happen overnight. It takes a lot of learning, doing, and making mistakes. I started taking mirror selfies like forever but hey, I’m still learning. I’ve tried to capture photos in different sizes, different photo modes, different cameras, I even flipped my phone upside down to see if I can get a better angle, you name it- I’ve probably done it all. But the more you do it, the more it gets ingrained into your head, the more you get better at it.
17. Use the volume up button as a shutter. This trick works perfectly when taking selfies or group photos. It helps hold your phone securely while taking photos as opposed to using the actual camera shutter.
18. Clean your phone lens. Pretty simple, and yet we tend to forget this part most of the time. So before using your phone to take pictures, just wipe it.
We all strive to have picture-perfect photos and we can’t deny the fact that social media favors appearances and popularity. The sad reality is, not everything you see on the internet is true. Ever wonder why your mirror selfies don’t look like influencers’ mirror selfies? It’s because they’re not actually using mirrors at all. There’s another camera being used to take their mirror selfie shot. Did I just spill the tea? Oops!
So don’t beat yourself up when your photos don’t look the same as everyone you see on social media.
-Danee
